 About 15 years ago, I tinkered with two Meg rebreathers, attempting to construct a sidemount oriented rig that might buy me space in tight cave environments. I was intent on building a dual, redundant platform that could minimize some of the bailout gas that I was otherwise carrying. I learned two things from that process. The first is that I destroyed the great work of breathing of the unit and the second is that by the time I put everything together I was unsuccessful in making a measurable reduction of my profile in the water. I still needed independent oxygen and diluent tanks, scrubbers and breathing loops. But my interest in sidemount rebreathers was not lost. I continued reviewing options at dive shows.
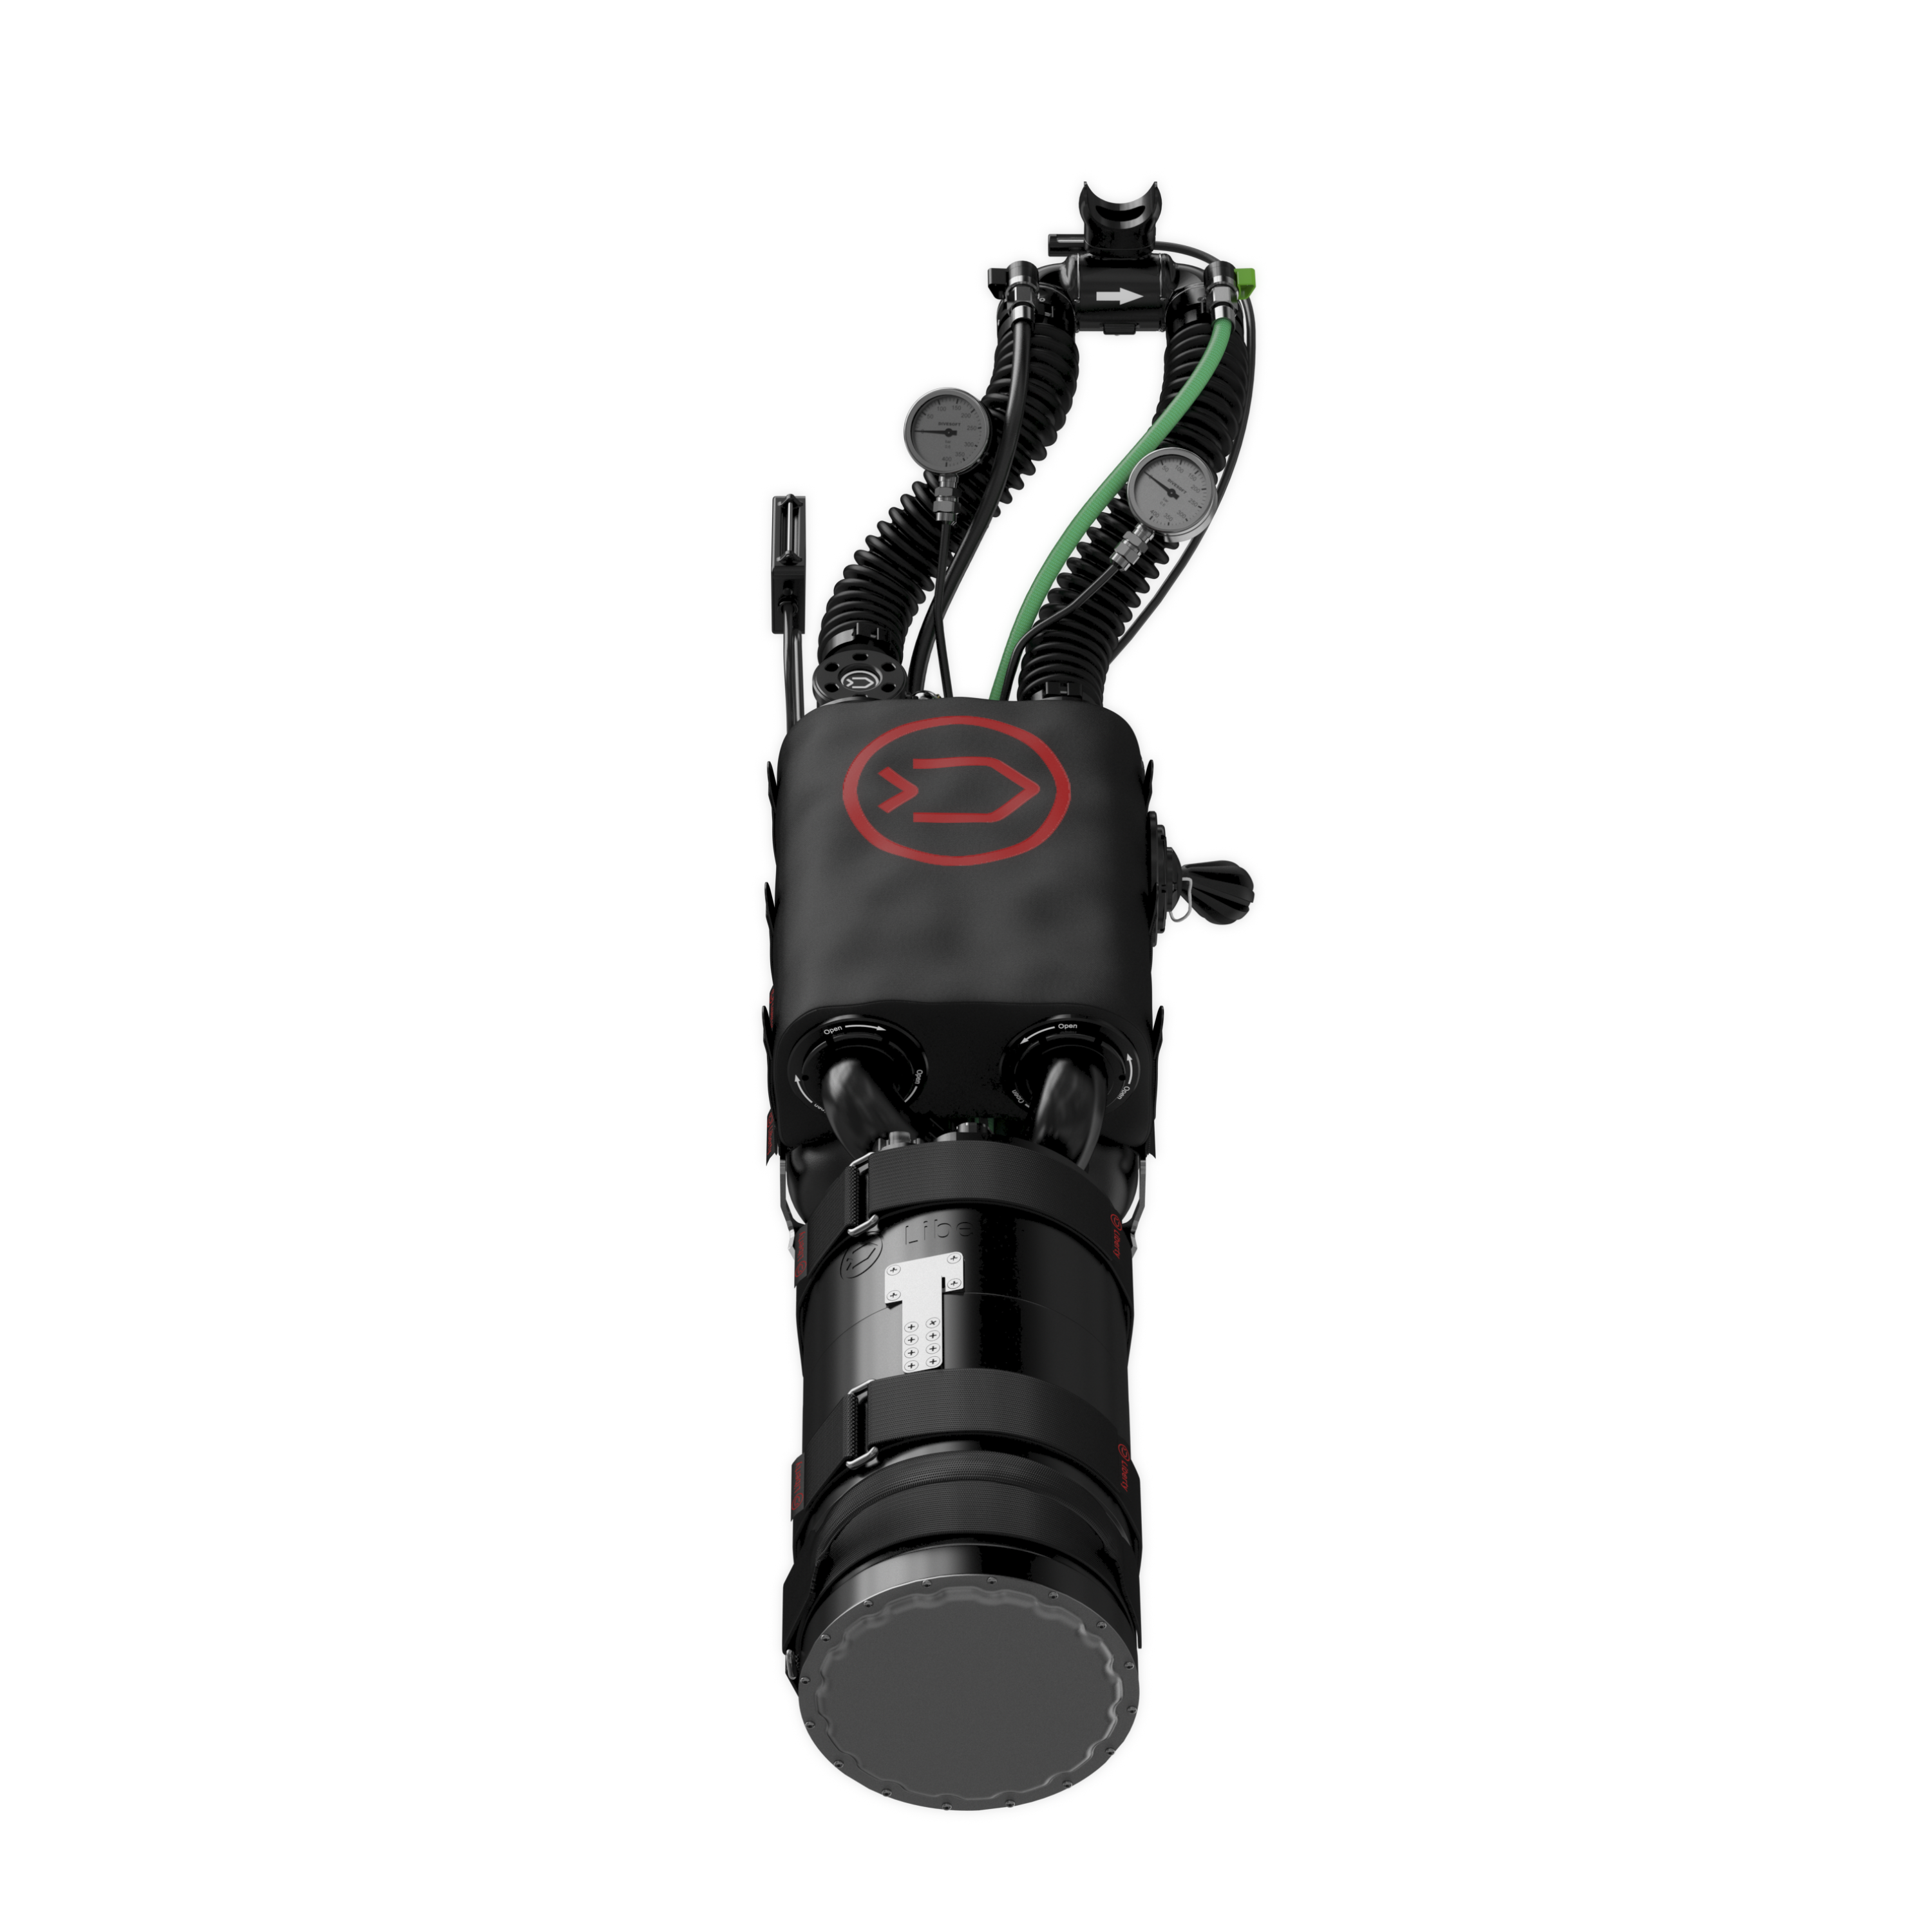
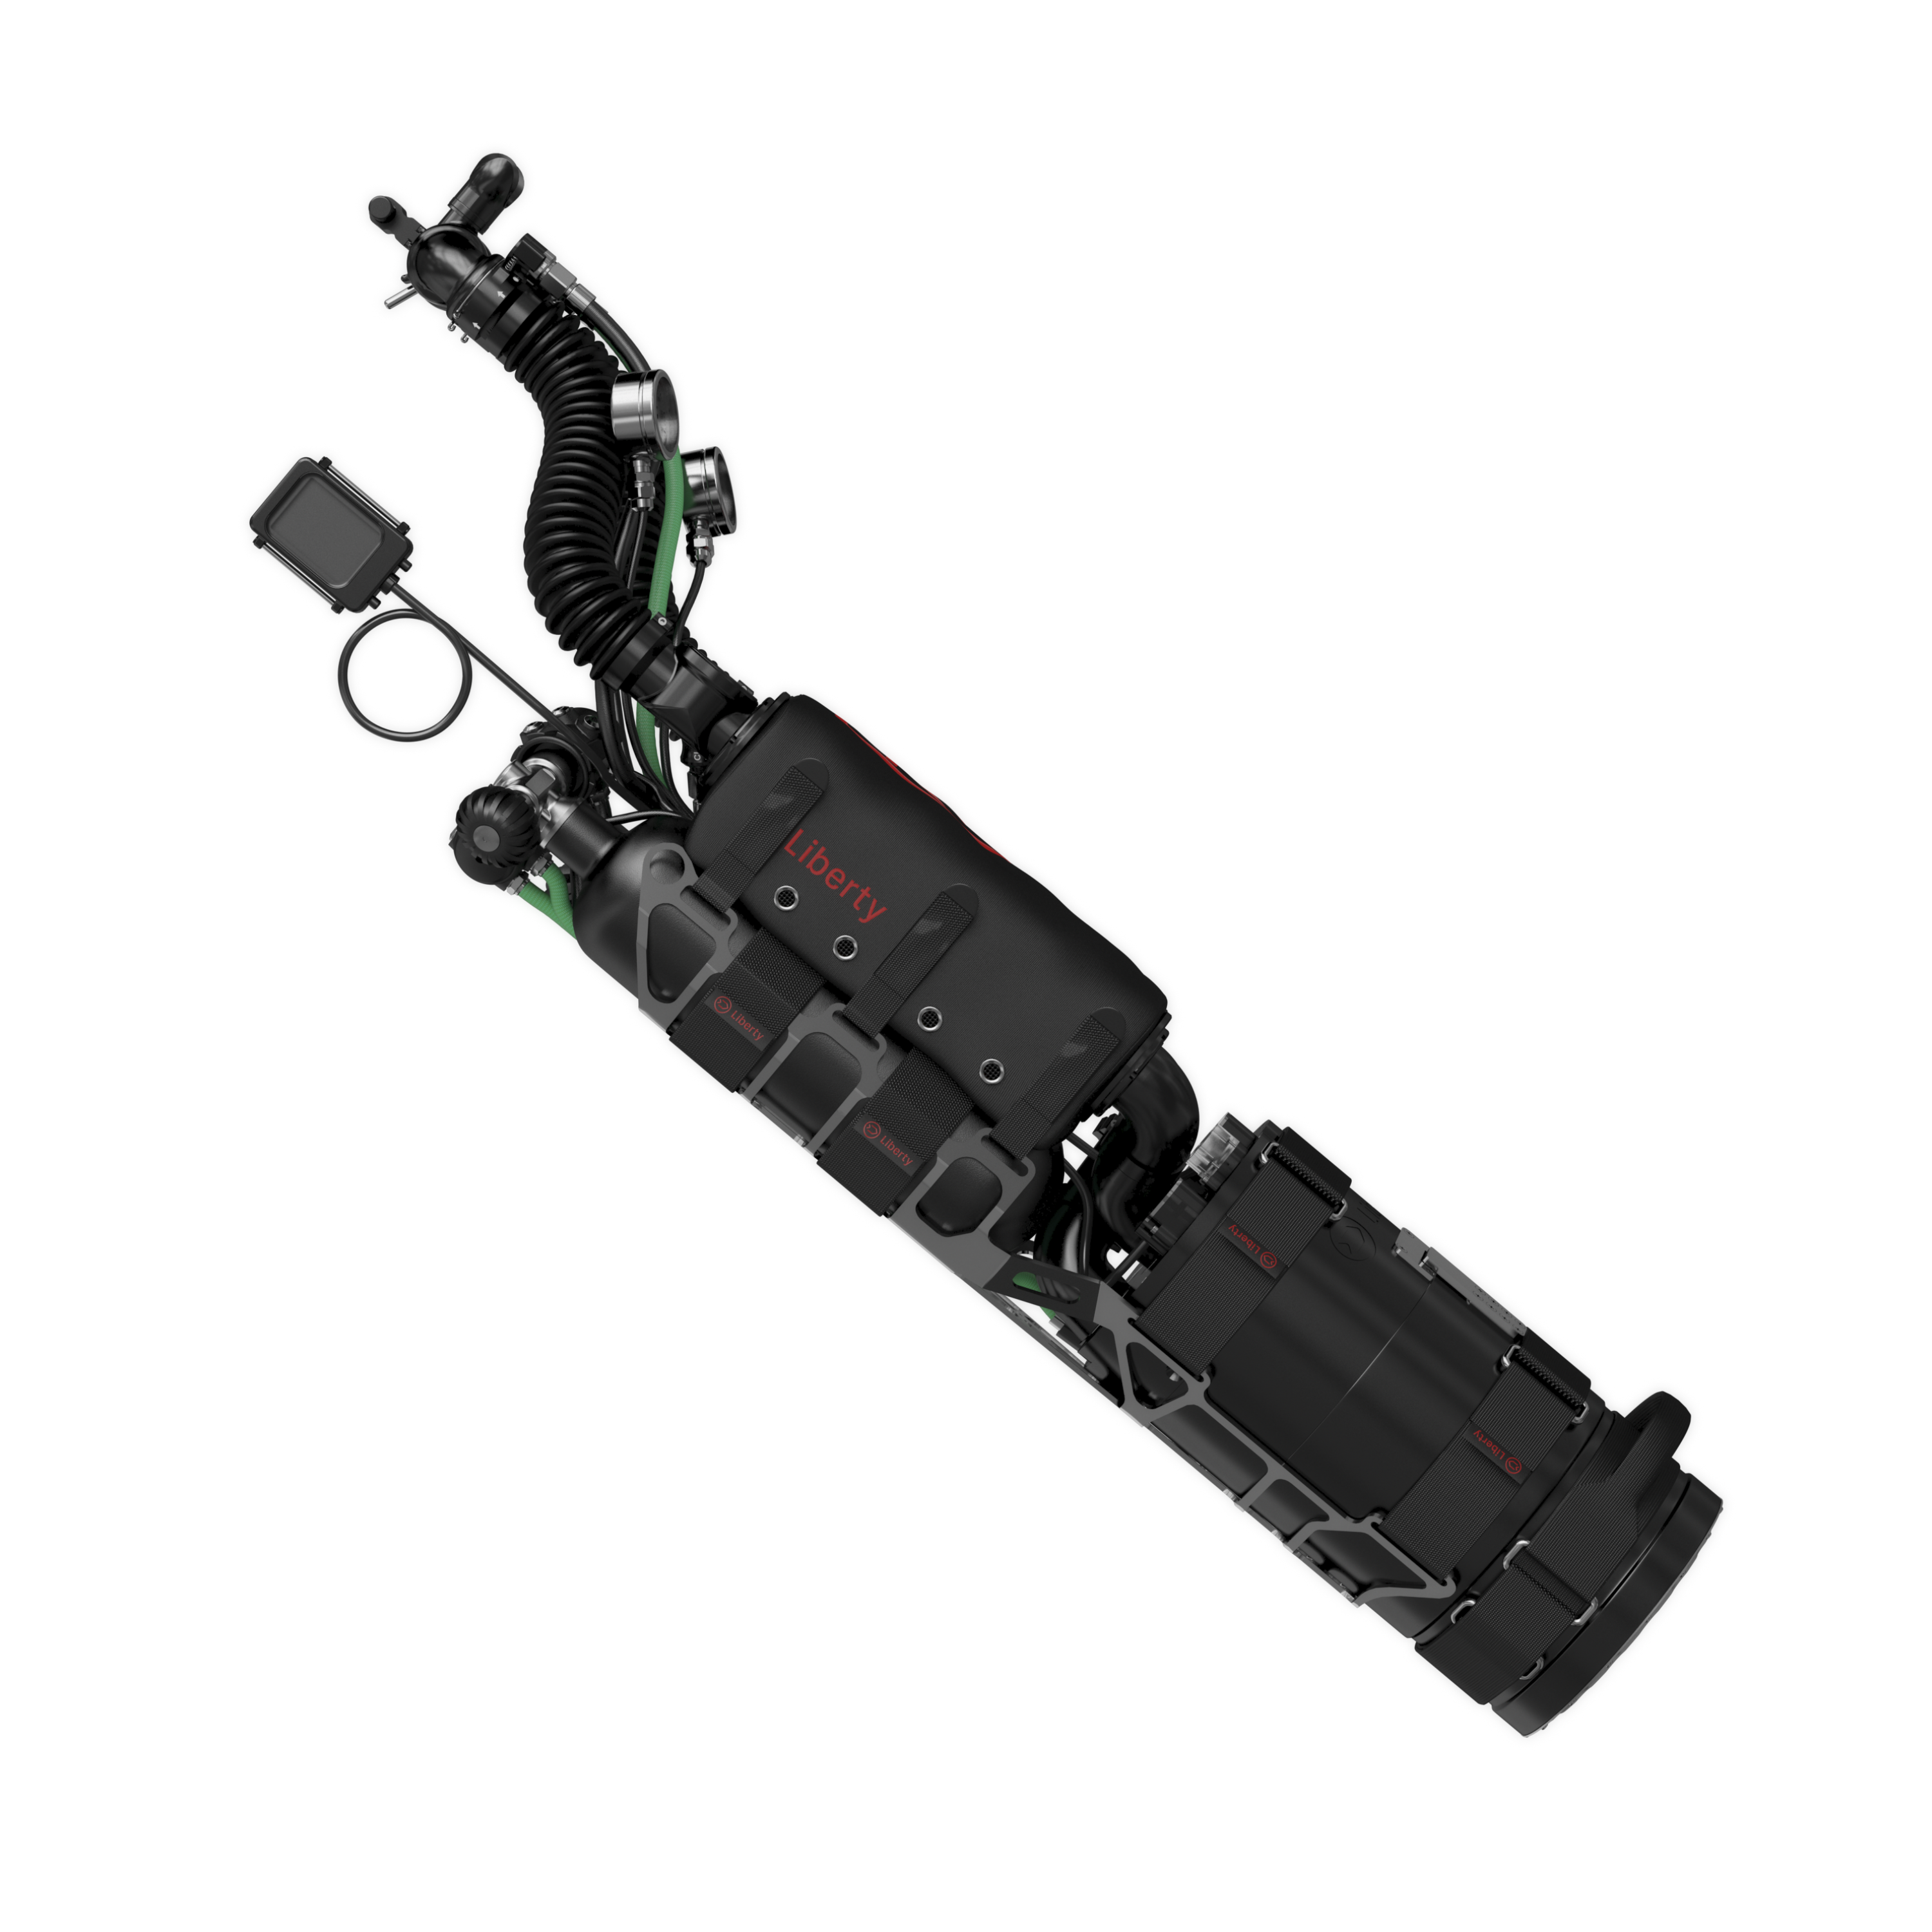
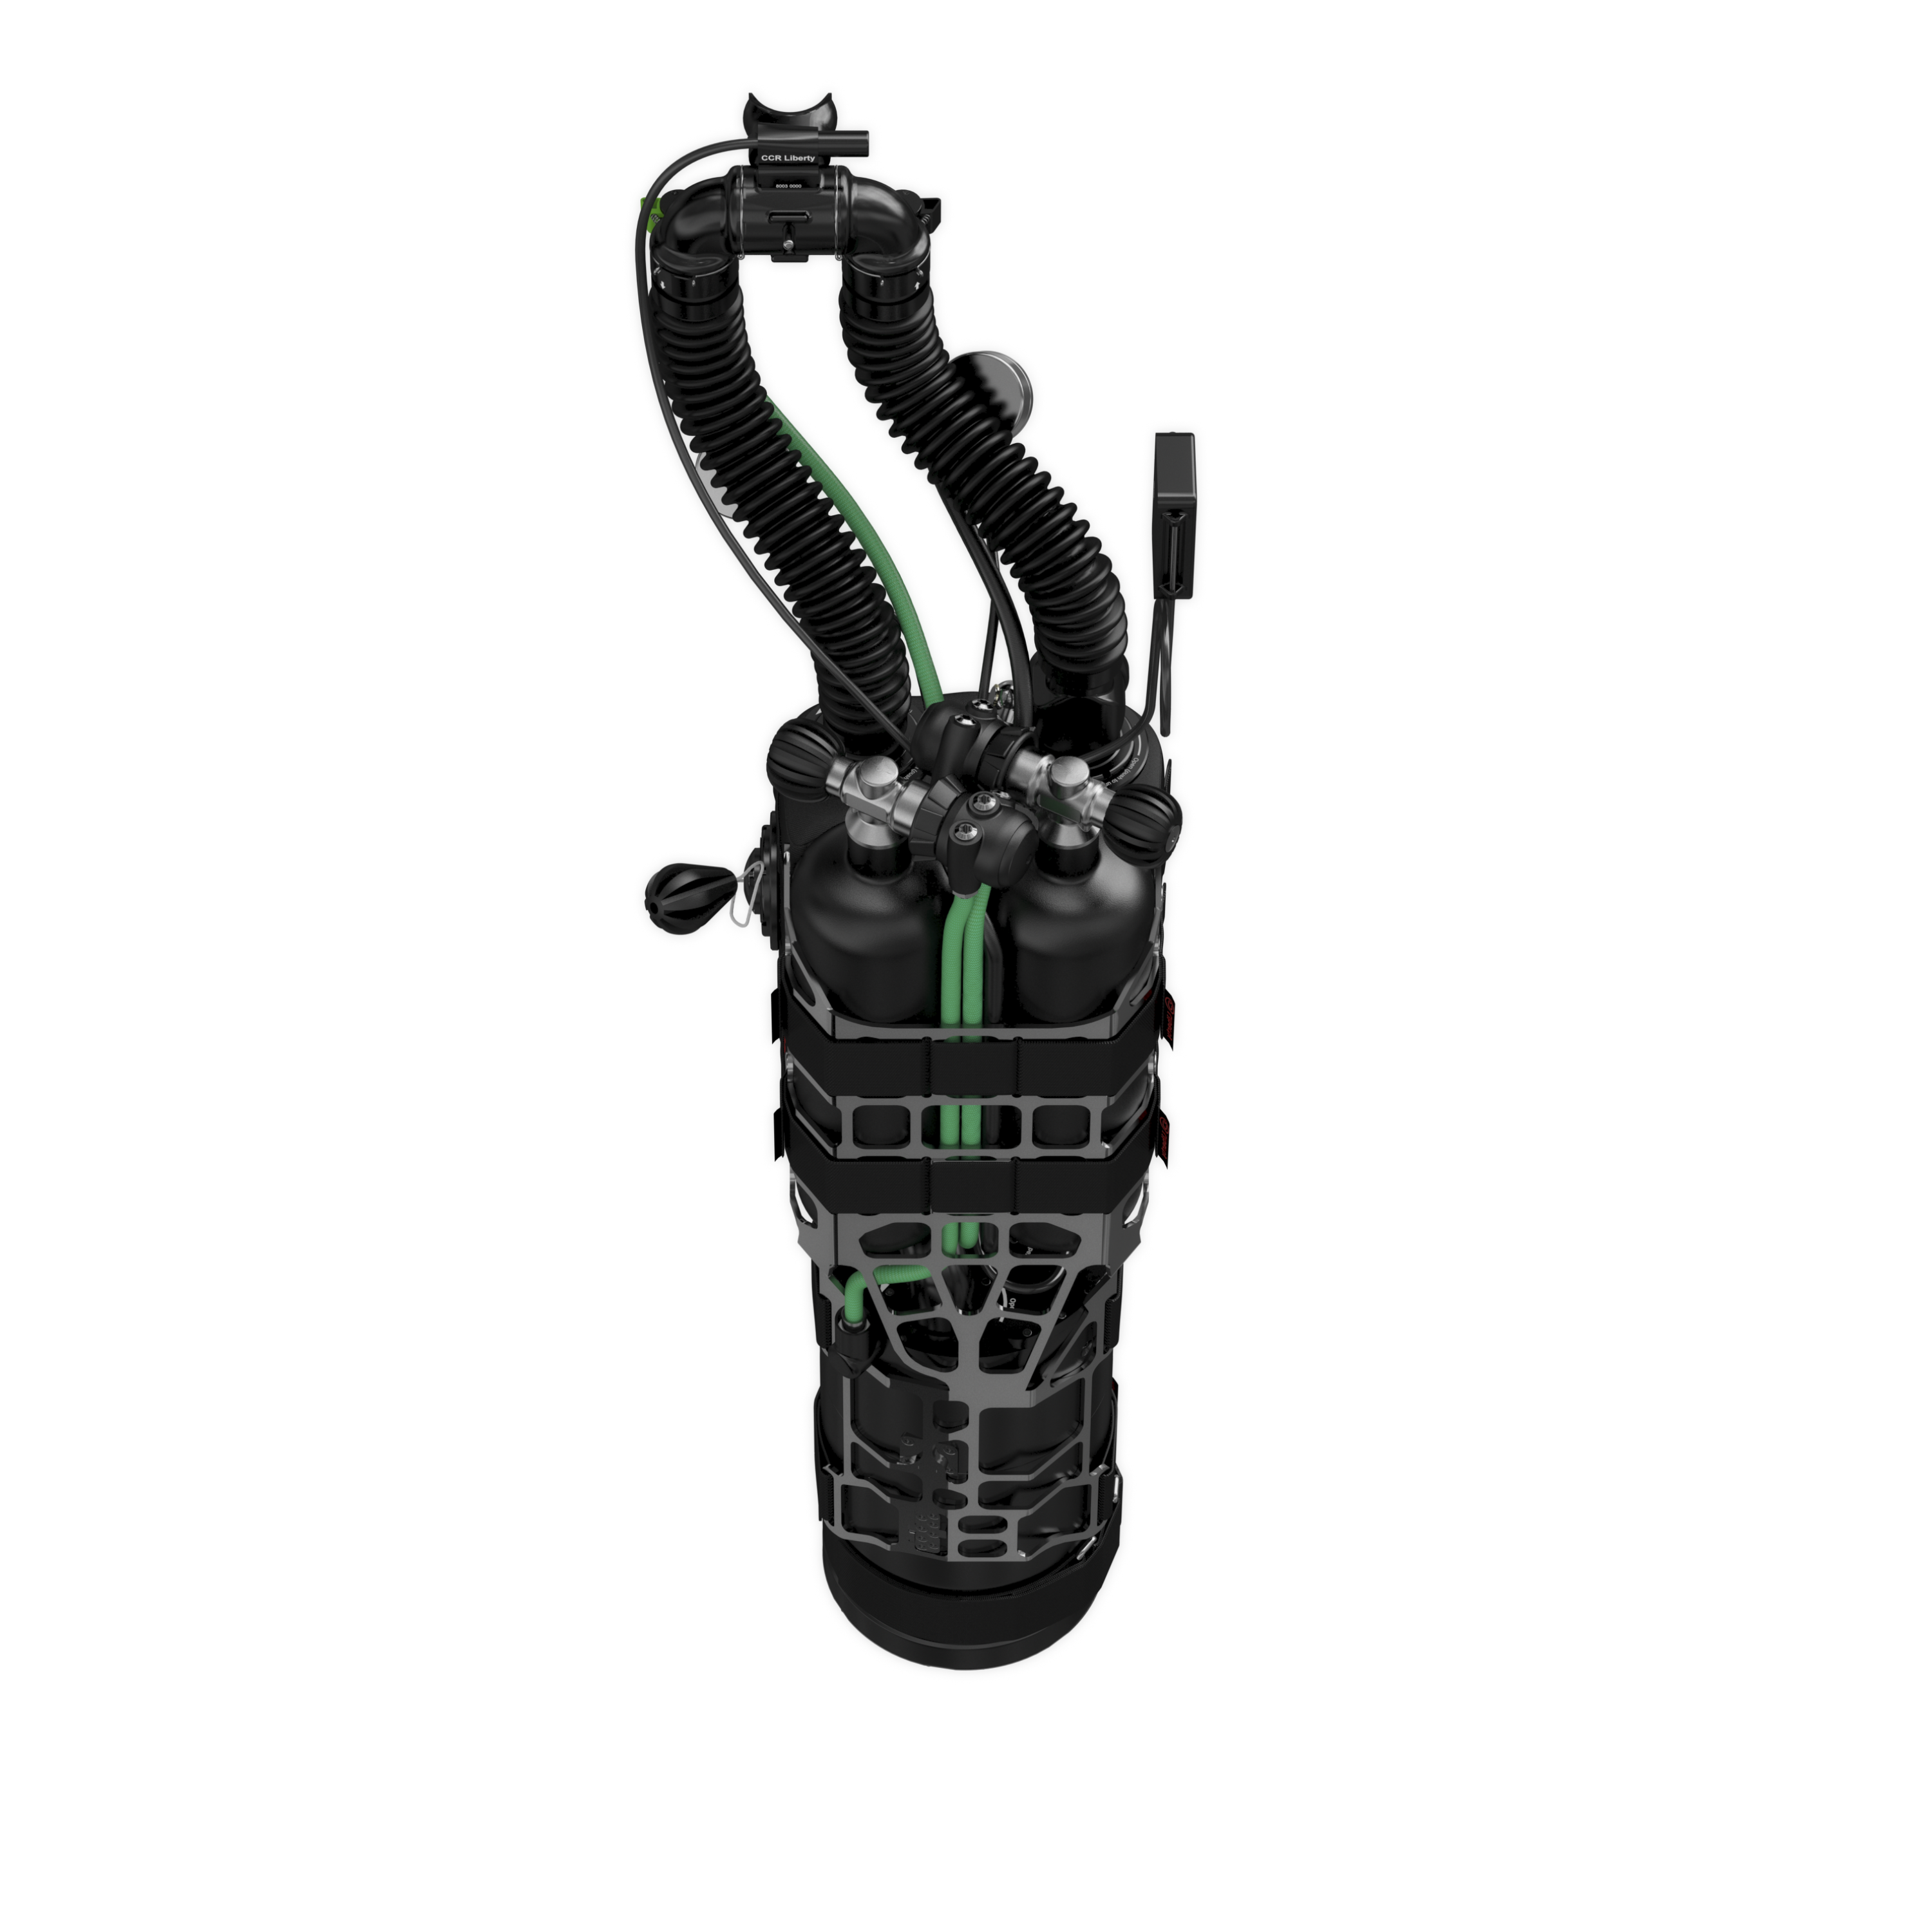
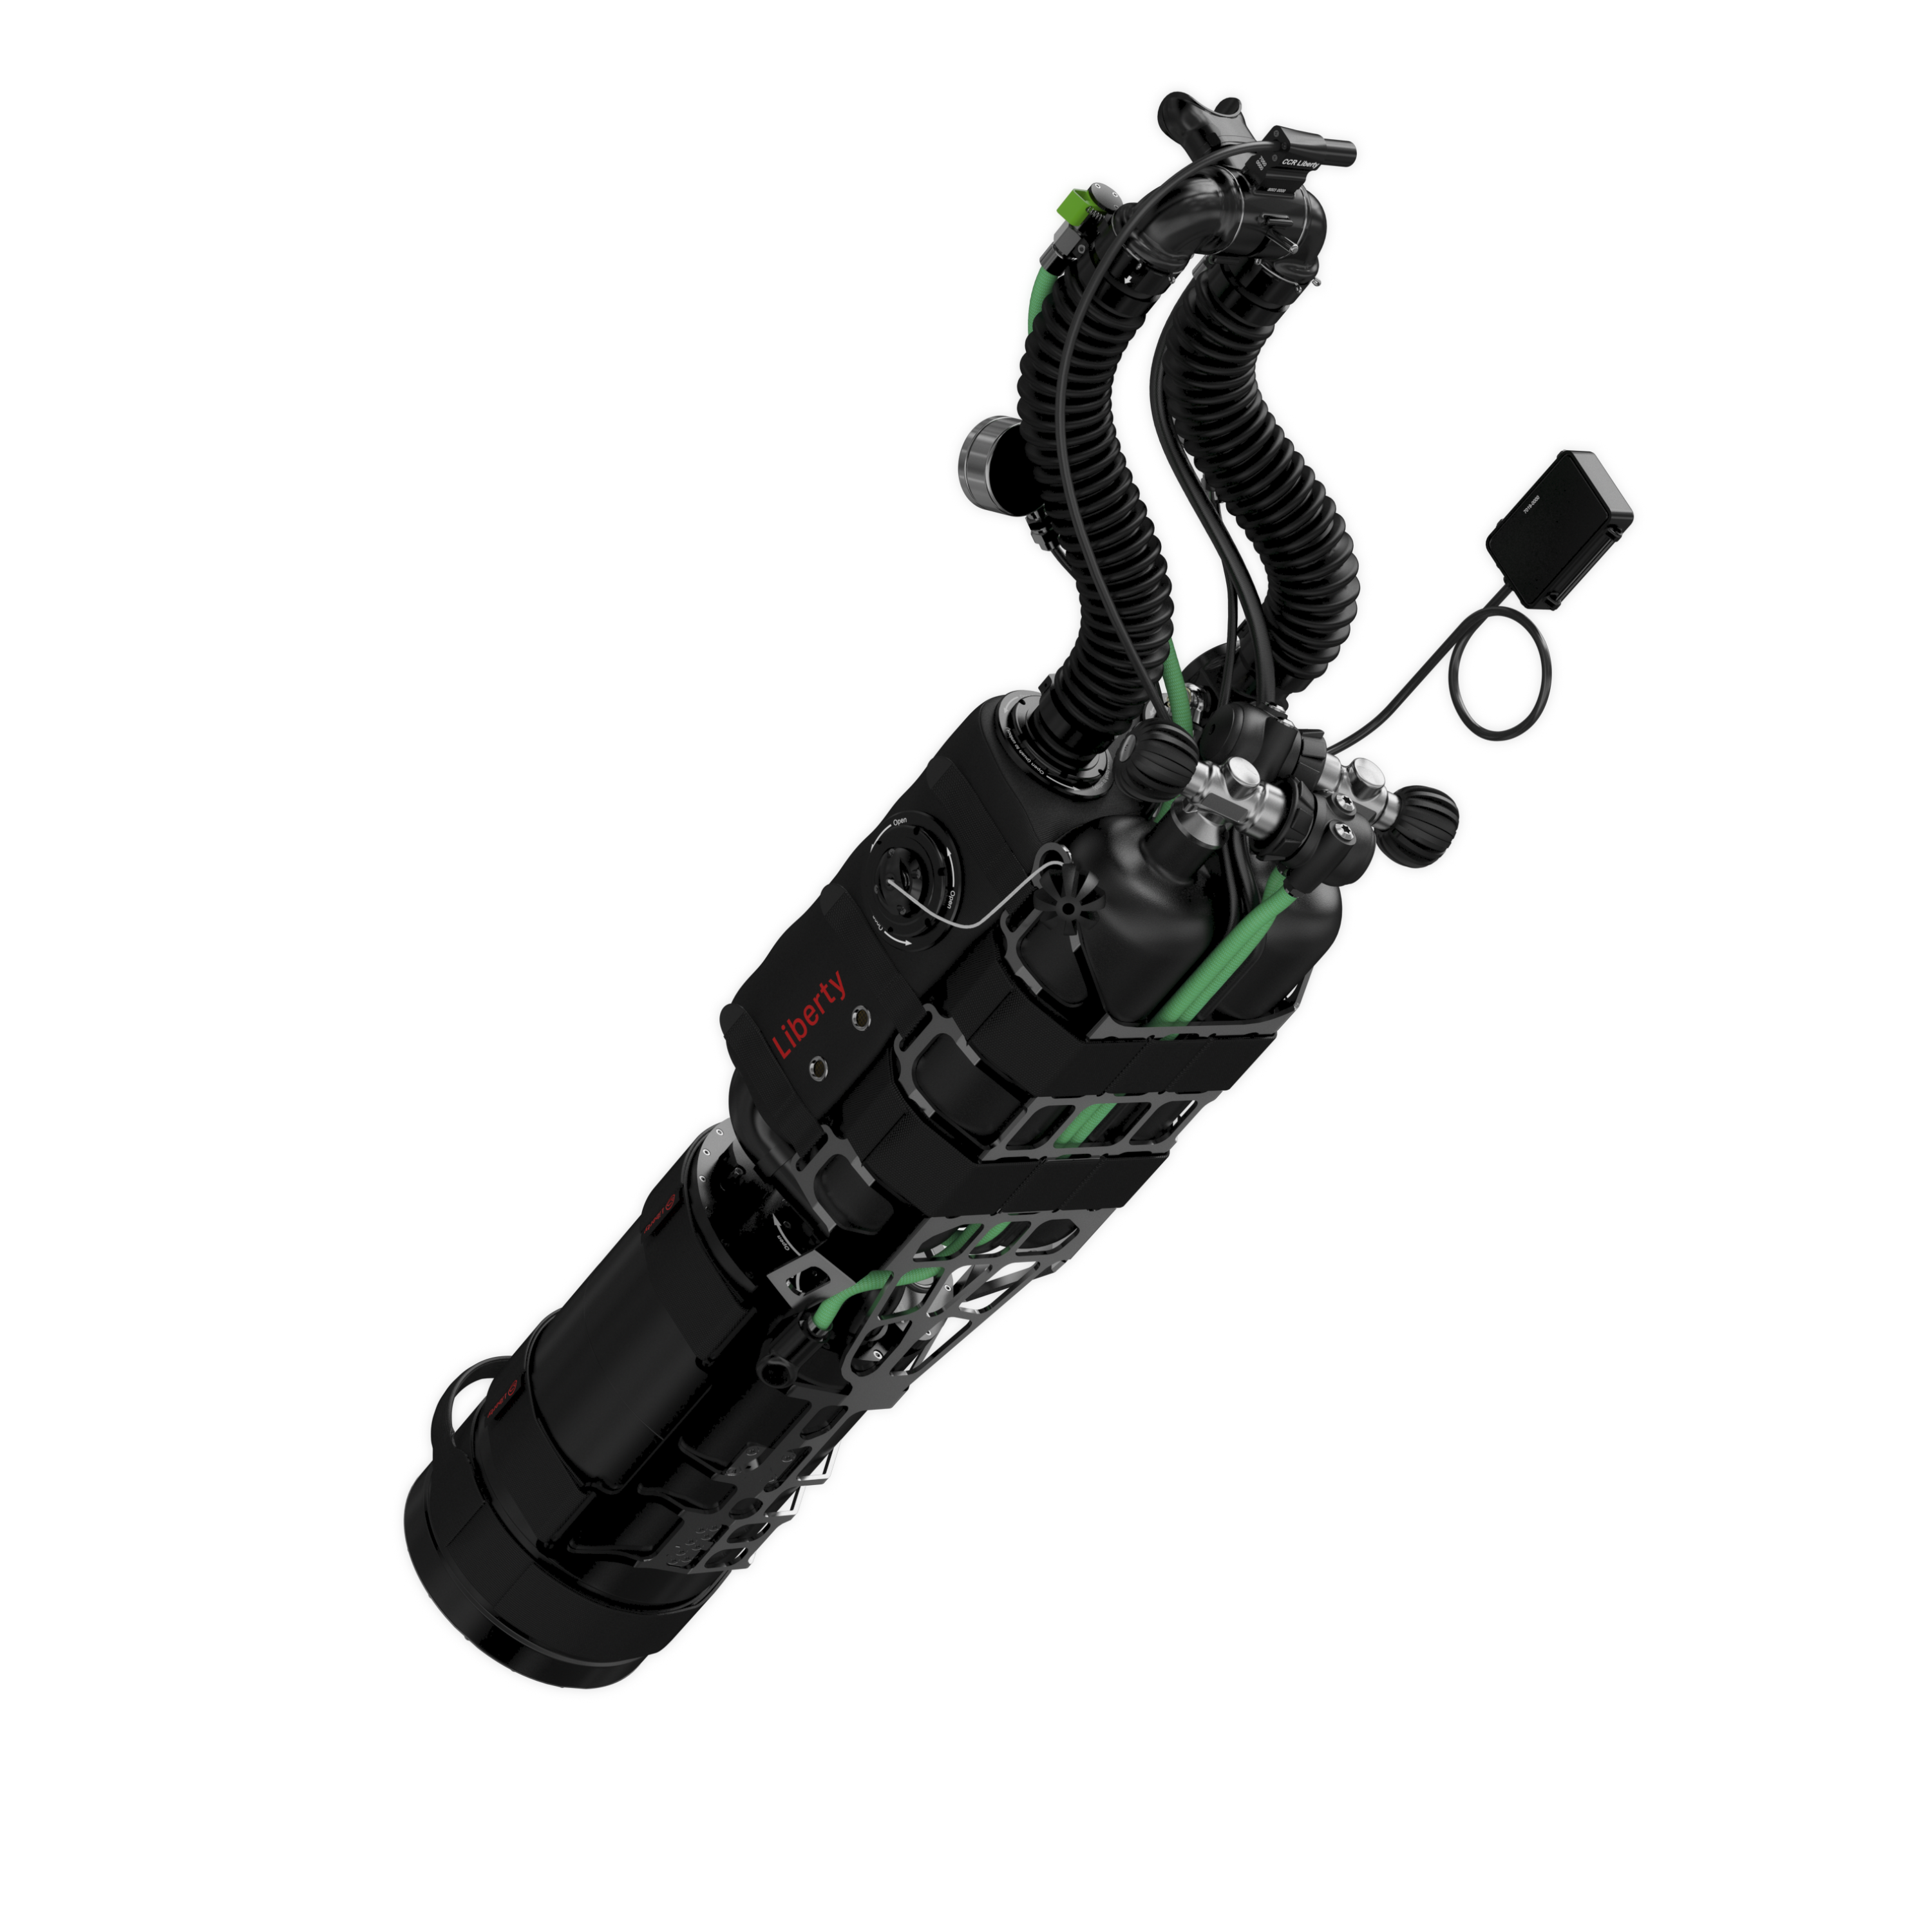
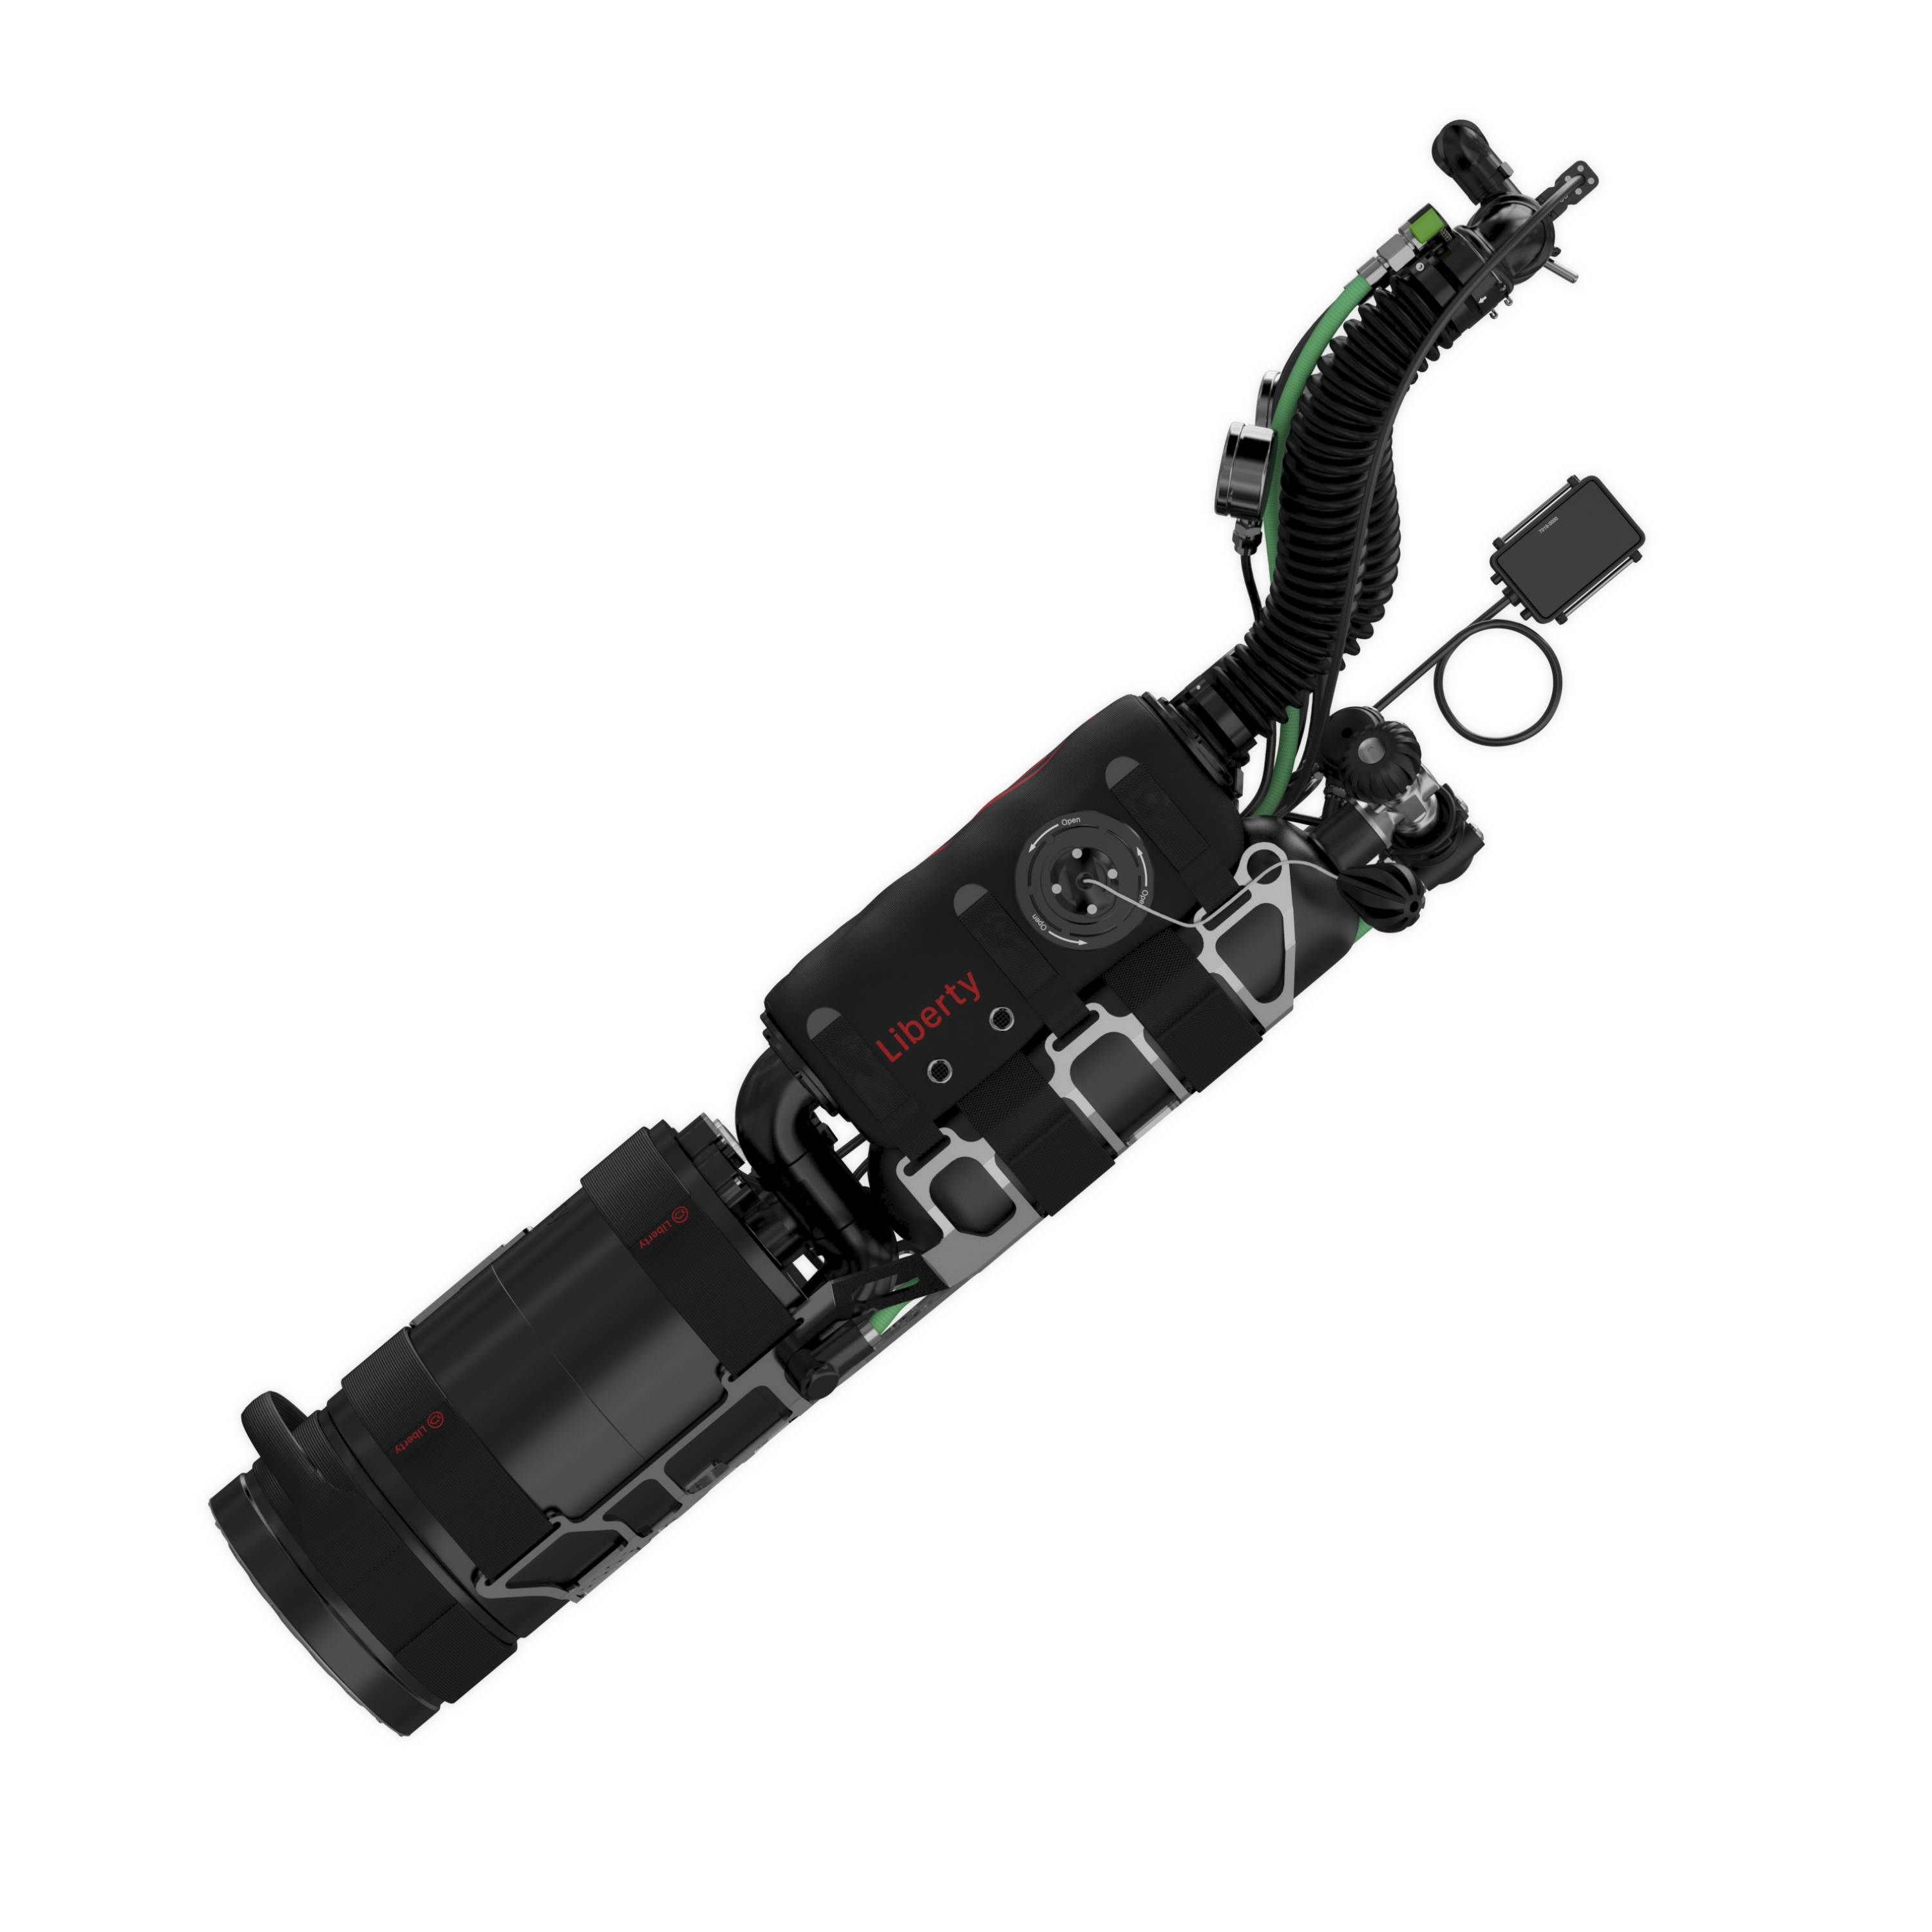
Fast forward through the years, and I was offered an opportunity to dive and keep a loaner Liberty Sidemount Rebreather from DiveSoft. I have been using it for a while now and have the following thoughts to offer.
First, the Liberty SM is a beautifully engineered piece of equipment. It is robust and dependable. All the parts have been carefully and meticulously designed and specified to fit together like a tight jigsaw puzzle of parts, minimizing the overall size. Although I am often a little worried about how extremely high-tech, electronic solutions will manage in the field, I have not had any issues with electronics. I’ll leave the reader to learn more about the four oxygen sensors, helium sensors, and human-machine interface and speak specifically about the sidemount specifics in this piece.
Assembly
Canister packing is fast and the oxygen calibration tool is quick and easy. I wish the electronics would hold onto the date and time when the device loses its charge. The method of switching the date/time is a little fussy, utilizing potentiometers to sense your motion up, down, right and left to change the numbers. Sometimes it feels more like a pinball game of ups and downs, only to require backtracking when a digit jumps without noticing. It is essential to get the date right for logging and also for stack time counting. I asked the manufacturers to add the date check to the top of their checklist to remind people to check this, and they have done so.
The counterlung and breathing loop assembly and disassembly are a bit tricky. The tolerances are so tight to get everything indexed into position, and also to hook up the oxygen supply hose, that I have struggled at times to get it right. Once I perfected my assembly order and worked from the bottom up, it was much easier. I offer this feedback as positive and negative. When everything is buttoned up and properly positioned, it is solid as a rock, but be prepared to adjust to some ergonomics and find a path to the assembly that makes throwing around this unit comfortable for you. Once you figure it out, do it the same way every time.
Diving
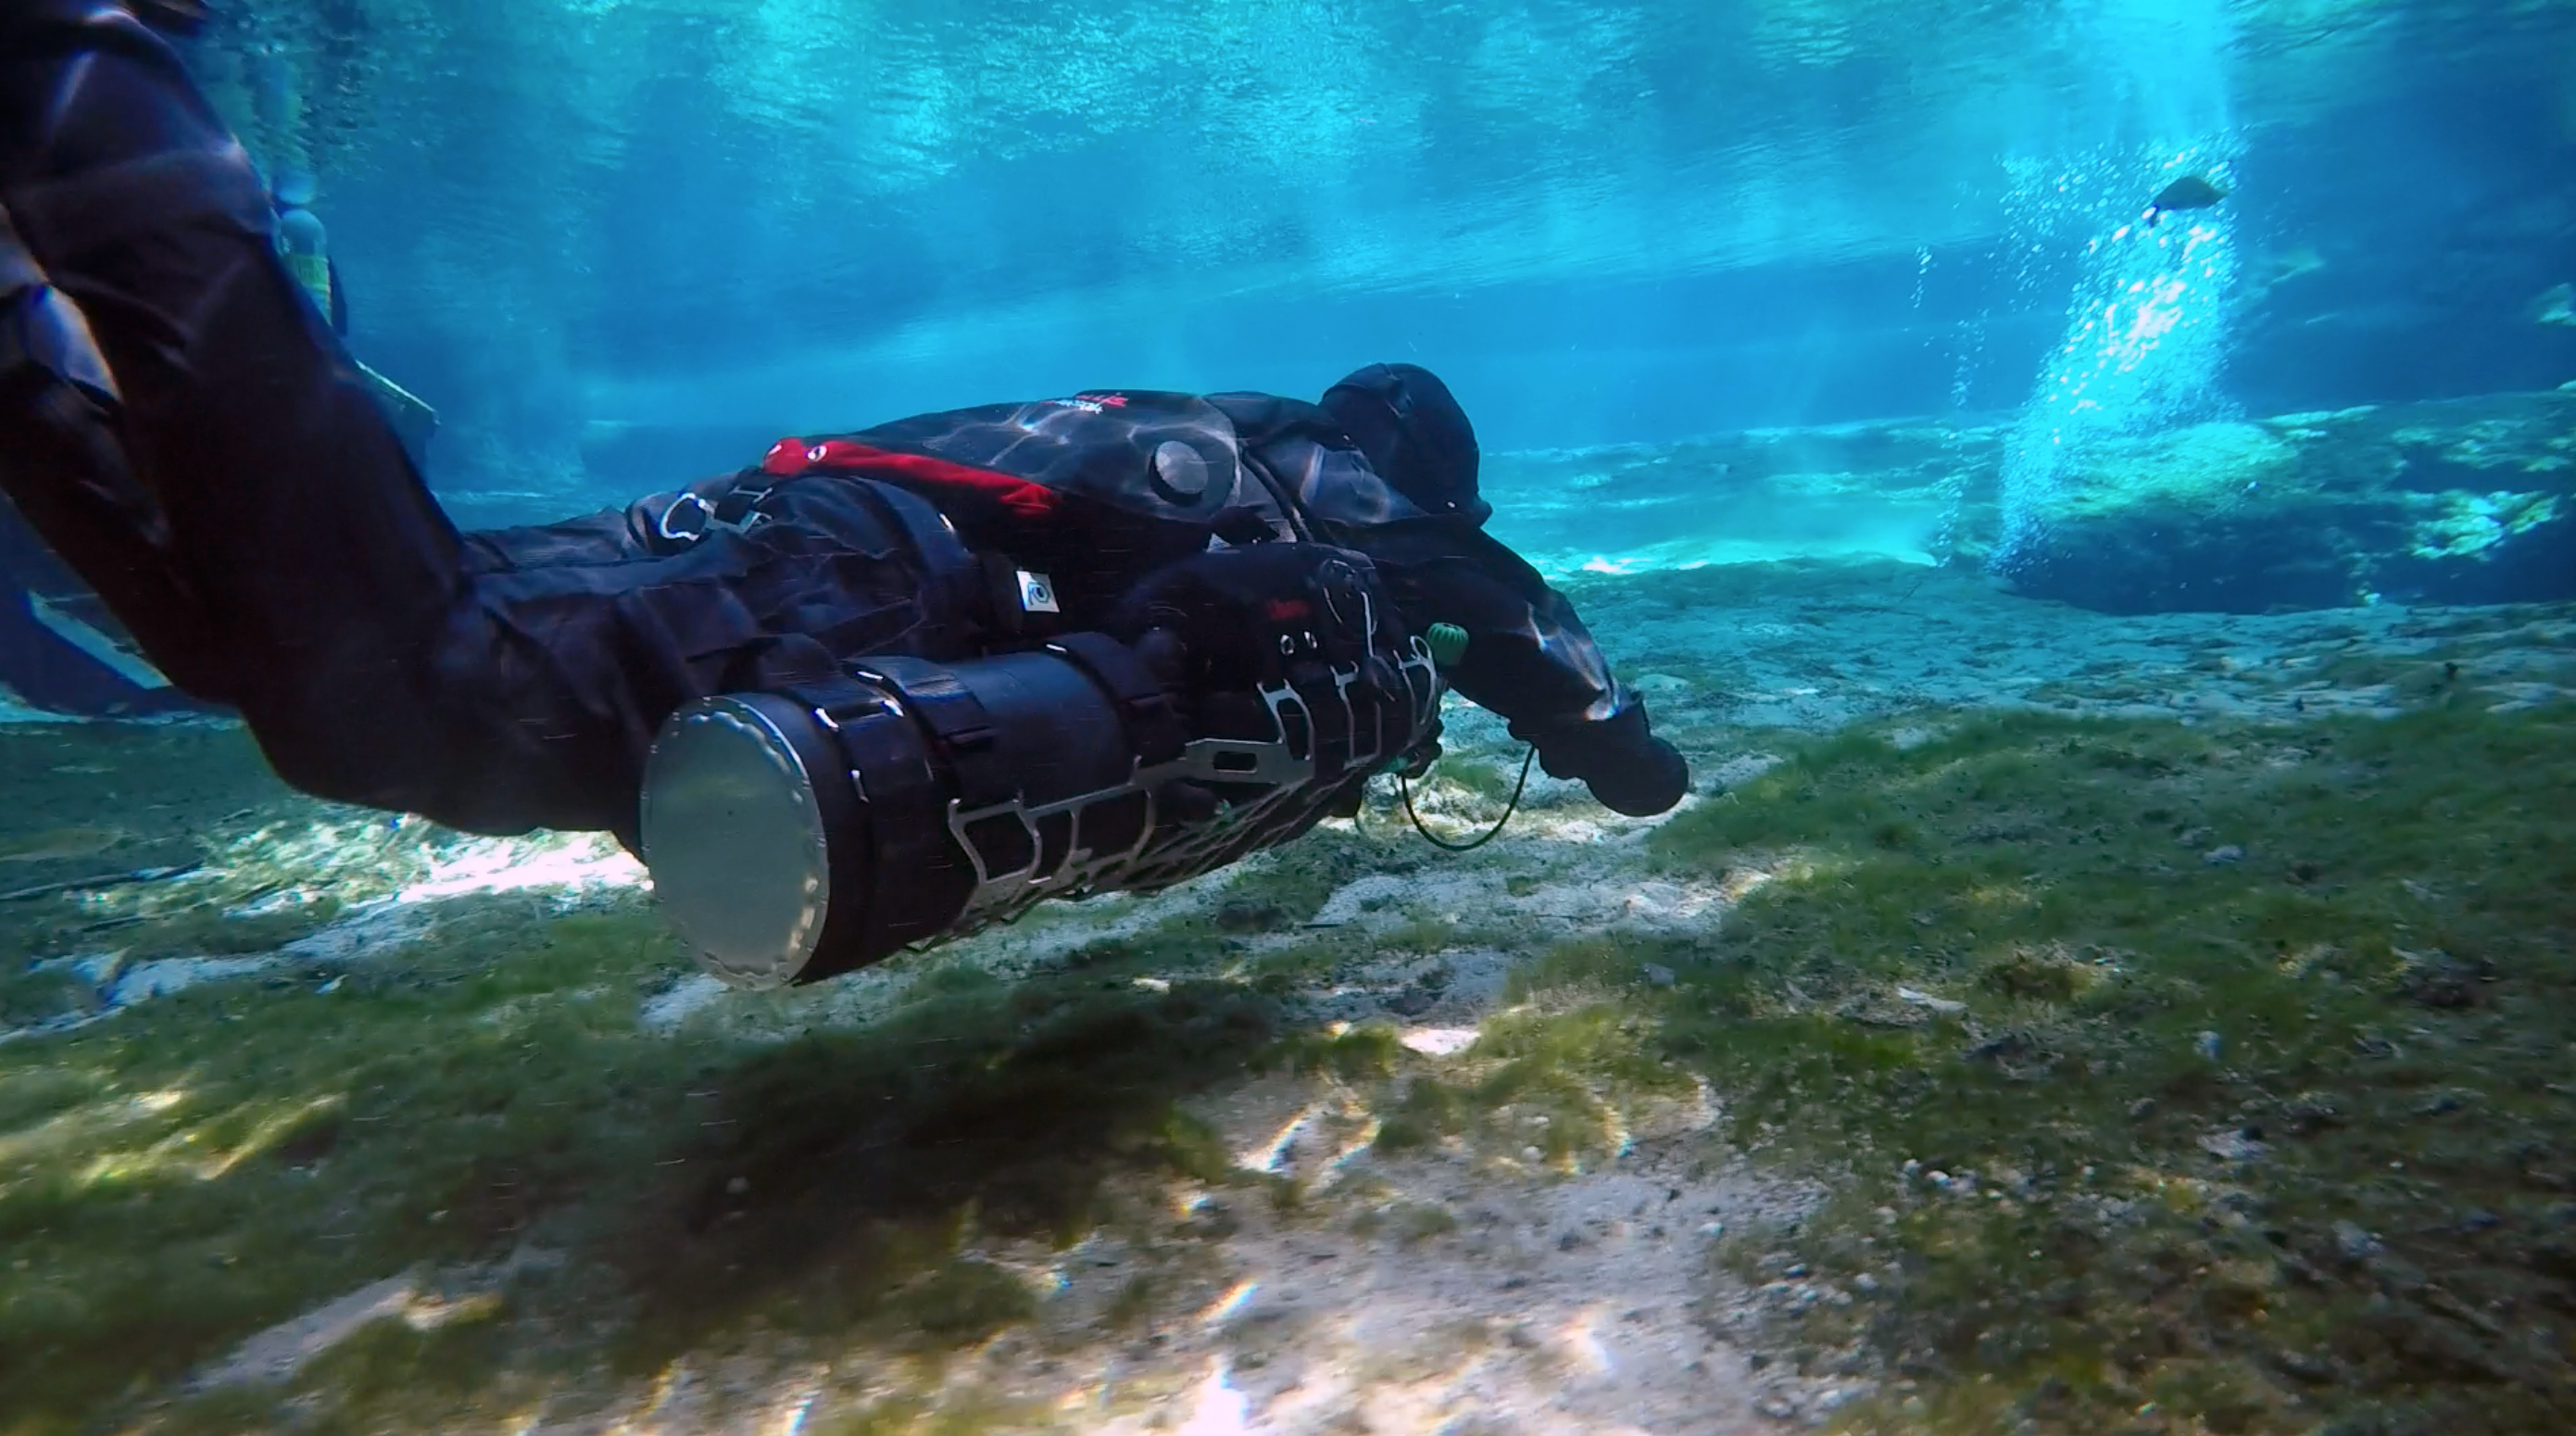
The Liberty SM is one of the easiest rebreathers to trim and dive that I have ever used. Within minutes, I was able to run through essential skills and felt my buoyancy and trim were immediately excellent. That said, the unit needs to be secured to your body correctly to optimize trim and work of breathing. No sidemount rebreather in the world will be as good as an over-the-shoulder counterlung rig for work of breathing. As of this writing, I am not aware of a single sidemount rebreather that has passed the CE EN14143 spec for work of breathing. It is physically impossible. Your lung centroid is too far from the center of the breathing loop (including the canister which is down below your hip), and unless you are in perfect horizontal trim all the time, then you will notice the increased resistance, especially at the end of inhalation in normal diving positions. Work of breathing is not just crucial to the “feel” of a rebreather. It is considered critical for life support specifications, especially when deep diving. Increased work of breathing can lead to carbon dioxide buildup that can be deadly. So bear in mind, any time you are diving any sidemount rebreather, you are in test-pilot territory. If a unit does not pass the CE test, then the CE authorities do not believe it operates in a safe envelope for life support in their specifications.
To lessen risk and optimize work of breathing, ensure that the unit is well aligned with your body and that the counterlungs are as high up under your armpit as possible. The stainless triggers snaps that come with the unit are well placed, but I added a bungee at the top to snug it even closer to my lung centroid. When I don’t bungee the rig tight, I find the difference in breathing to be noticeable. I wear the rebreather with a Hollis Katana sidemount unit. It provides a clean profile with sufficient lift in the right places. If I use a steel tank for bailout, then a 4-pound counterweight on the CCR side, gives me perfect trim. With an aluminum tank, I use no lead in a dry suit and moderate undergarments in fresh water.
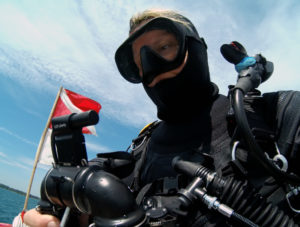
Work of breathing is not just altered through hydrostatic effect—meaning the lung centroid’s relative position to the rebreather, such as head down, horizontal or head up. Work of breathing includes the resistive circuit— the twists and bends in the breathing hoses, valves and counterlungs. One of the things I love most about the Liberty is something that unfortunately contributes to a bit of a messy resistive breathing circuit. I love the clean vertical alignment of the hoses coming up to the mouth, but the gas must pass through a 90-degree bend to come and go from the diver surface valve. The mouthpiece feels very secure in this configuration, and the manual add valves on either side of the mouthpiece are nothing short of brilliant. They are easy to access, simple for metering a dose of gas and intuitive in their functionality. The position of these levers makes it easy to breathe open loop and intuitive for understanding the gas path.
The proprietary computer system is not specific to the Liberty sidemount rig. It is provided on all Liberty rebreathers. Menus are well organized and easy to operate. With little instruction, one can easily navigate the menus and activate essential features like the pre-dive checklist. Positive feedback and a timer on the checklist helps a diver know whether they are holding appropriate positive and negative pressure in the loop.
Additional Risks of Sidemount Rebreathers
Beyond the work of breathing issue, which gives me some pause for deeper, high workload dives, one must understand that any sidemount rebreather is much easier to flood than most traditional back-mounted units. Most back-mounted units have water traps that can redirect water into the counterlungs when the mouthpiece is lost, or the lever is left open accidentally. A sidemount rebreather has a quick path for water to rush downward and into the canister immediately. A flood can happen very quickly if you lose grip of the DSV or lose or damage a mouthpiece. Full bailout needs to be close at hand with the understanding that a significant flood is likely unrecoverable. Dewatering the loop from normal metabolic moisture is fast and straightforward, but a major flood is a different story.
So my final thoughts are these. If you are looking for a sidemount rebreather and understand the additional risks, then this is a well-built unit with good support and a growing instructor base. If you are first-time rebreather diver, I would suggest starting with a traditional unit first before switching over. Fortunately, you can do this with a Liberty. But before you dive ANY sidemount rebreather, ensure you fully understand the concept of work of breathing and recognize that you are a test pilot as you head into deeper dives. Finally, as with any rebreather, your chosen unit is only as good as your backup plan. Use your checklists properly and plan to carry a bailout quantity that will support you in the worst case scenarios you might encounter.
